
Journal · 3 November 2026 · 8 min read
How to combine ambient, task and accent lighting at home
What the three layers of lighting do, how to combine them room by room, which colour temperatures to pick and what to settle before the ceiling is closed.
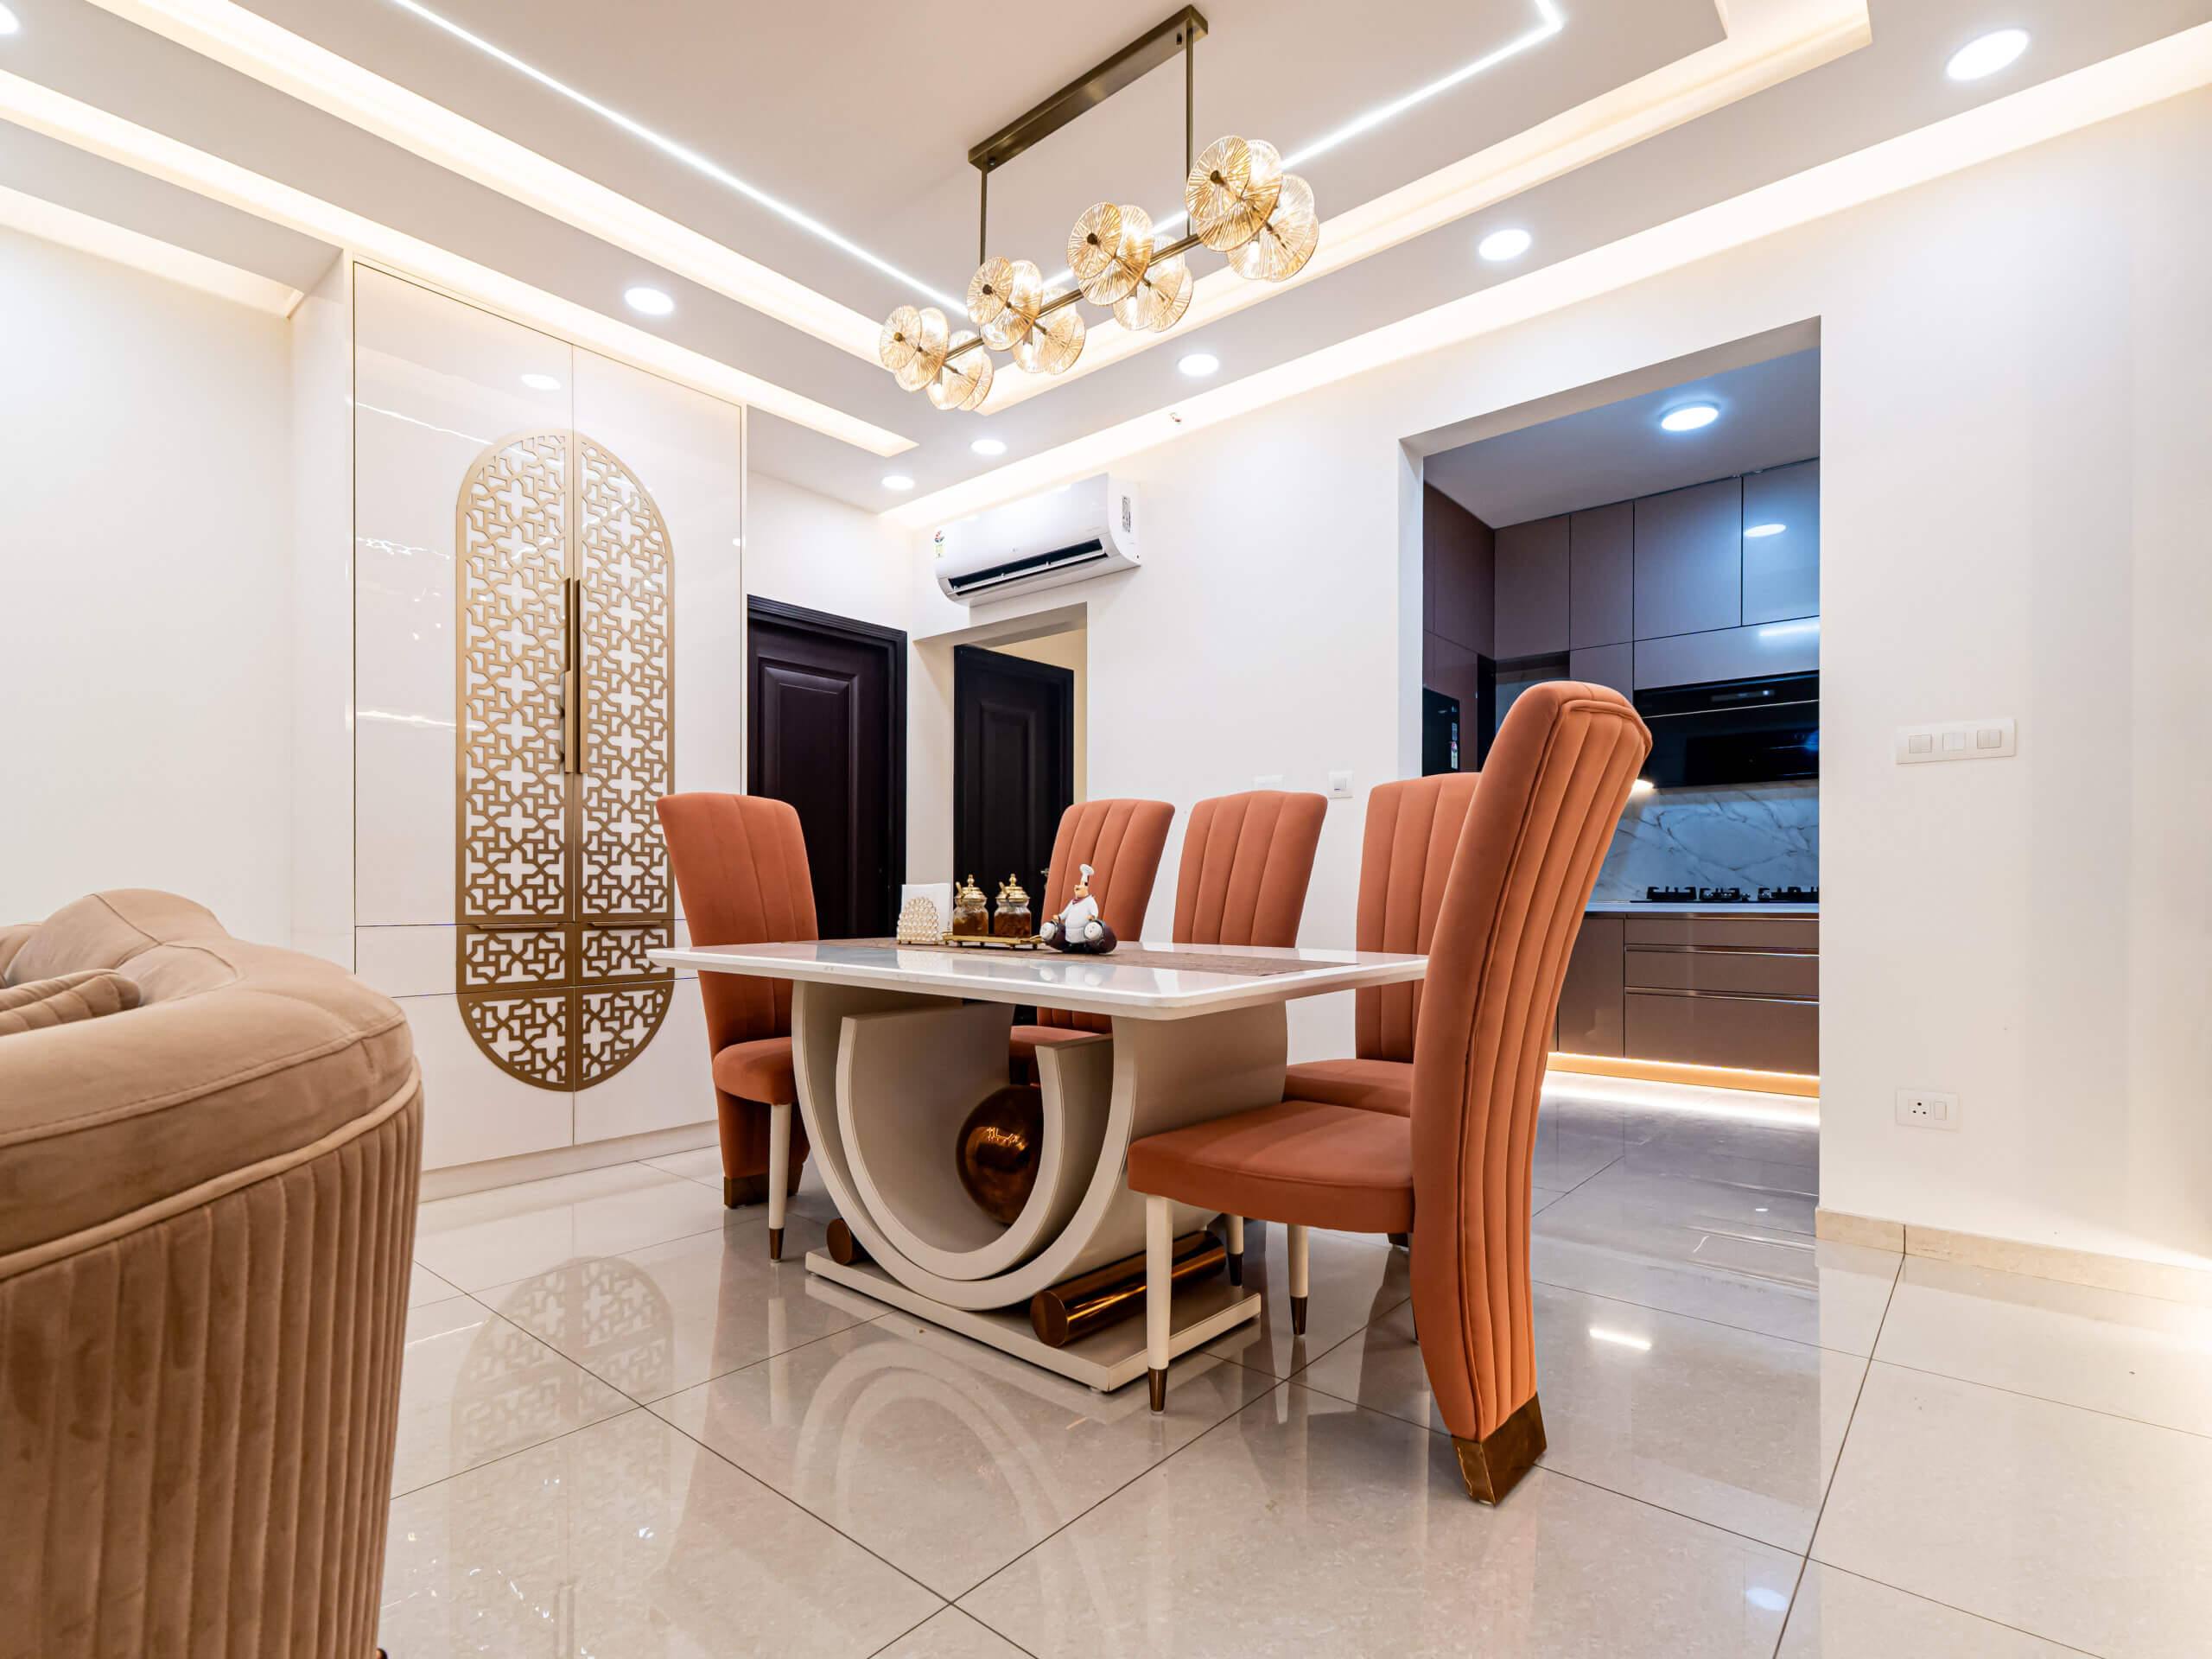
You spend weeks choosing the sofa, the curtains and the paint. Then evening comes, someone flips a single switch, and the living room turns into a flat, bright box. The sofa looks dull, the corners go dark, and the room that glowed in daylight feels like a waiting area.
It is one of the most common regrets we hear, and it is almost always about lighting. A home that feels right at night is lit in layers: soft light for the whole room, focused light for work, and a little sparkle on the things you love. This post explains the three layers, how to combine them room by room, and what to decide before the walls and ceiling are closed.
Why lighting gets left to the end
Most people choose lighting last. By then the false ceiling is done, the wiring is fixed, and the only option left is a bright white light in the middle of each room. It works, but it never feels special.
A single switch gives you a single mood. A real home needs several: a bright morning, a quiet dinner, a film with the lights low, a late-night snack. Layered lighting lets you move between them without changing anything except what is switched on.
Light also changes how everything else looks. The same teak finish can look rich under warm light and orange under a harsh one. Fabrics, paint, stone and even skin tones shift with the colour and direction of light. That is why lighting belongs in the plan from day one, not as an afterthought once the carpentry is finished.
The three layers, and what each one does
Ambient
The base layer, sometimes called general lighting. It fills the room with soft, even light so you can move around comfortably. Typical sources are cove lights, ceiling downlights, flush ceiling fittings, pendants and wall lights. In living rooms and bedrooms, warm light of about 2700 to 3000 kelvin feels welcoming. As a rough guide, aim for 10 to 20 lumens per square foot.
Task
Focused light for a specific job: chopping vegetables, reading, studying, applying make-up, working on a laptop. Typical sources are under-cabinet strips, desk lamps, bedside reading lights and mirror lights. It is usually brighter and a little cooler, around 3500 to 4000 kelvin in kitchens and study areas. The rule is to put the light in front of or above the work, never behind you, so your own shadow does not land on the task.
Accent
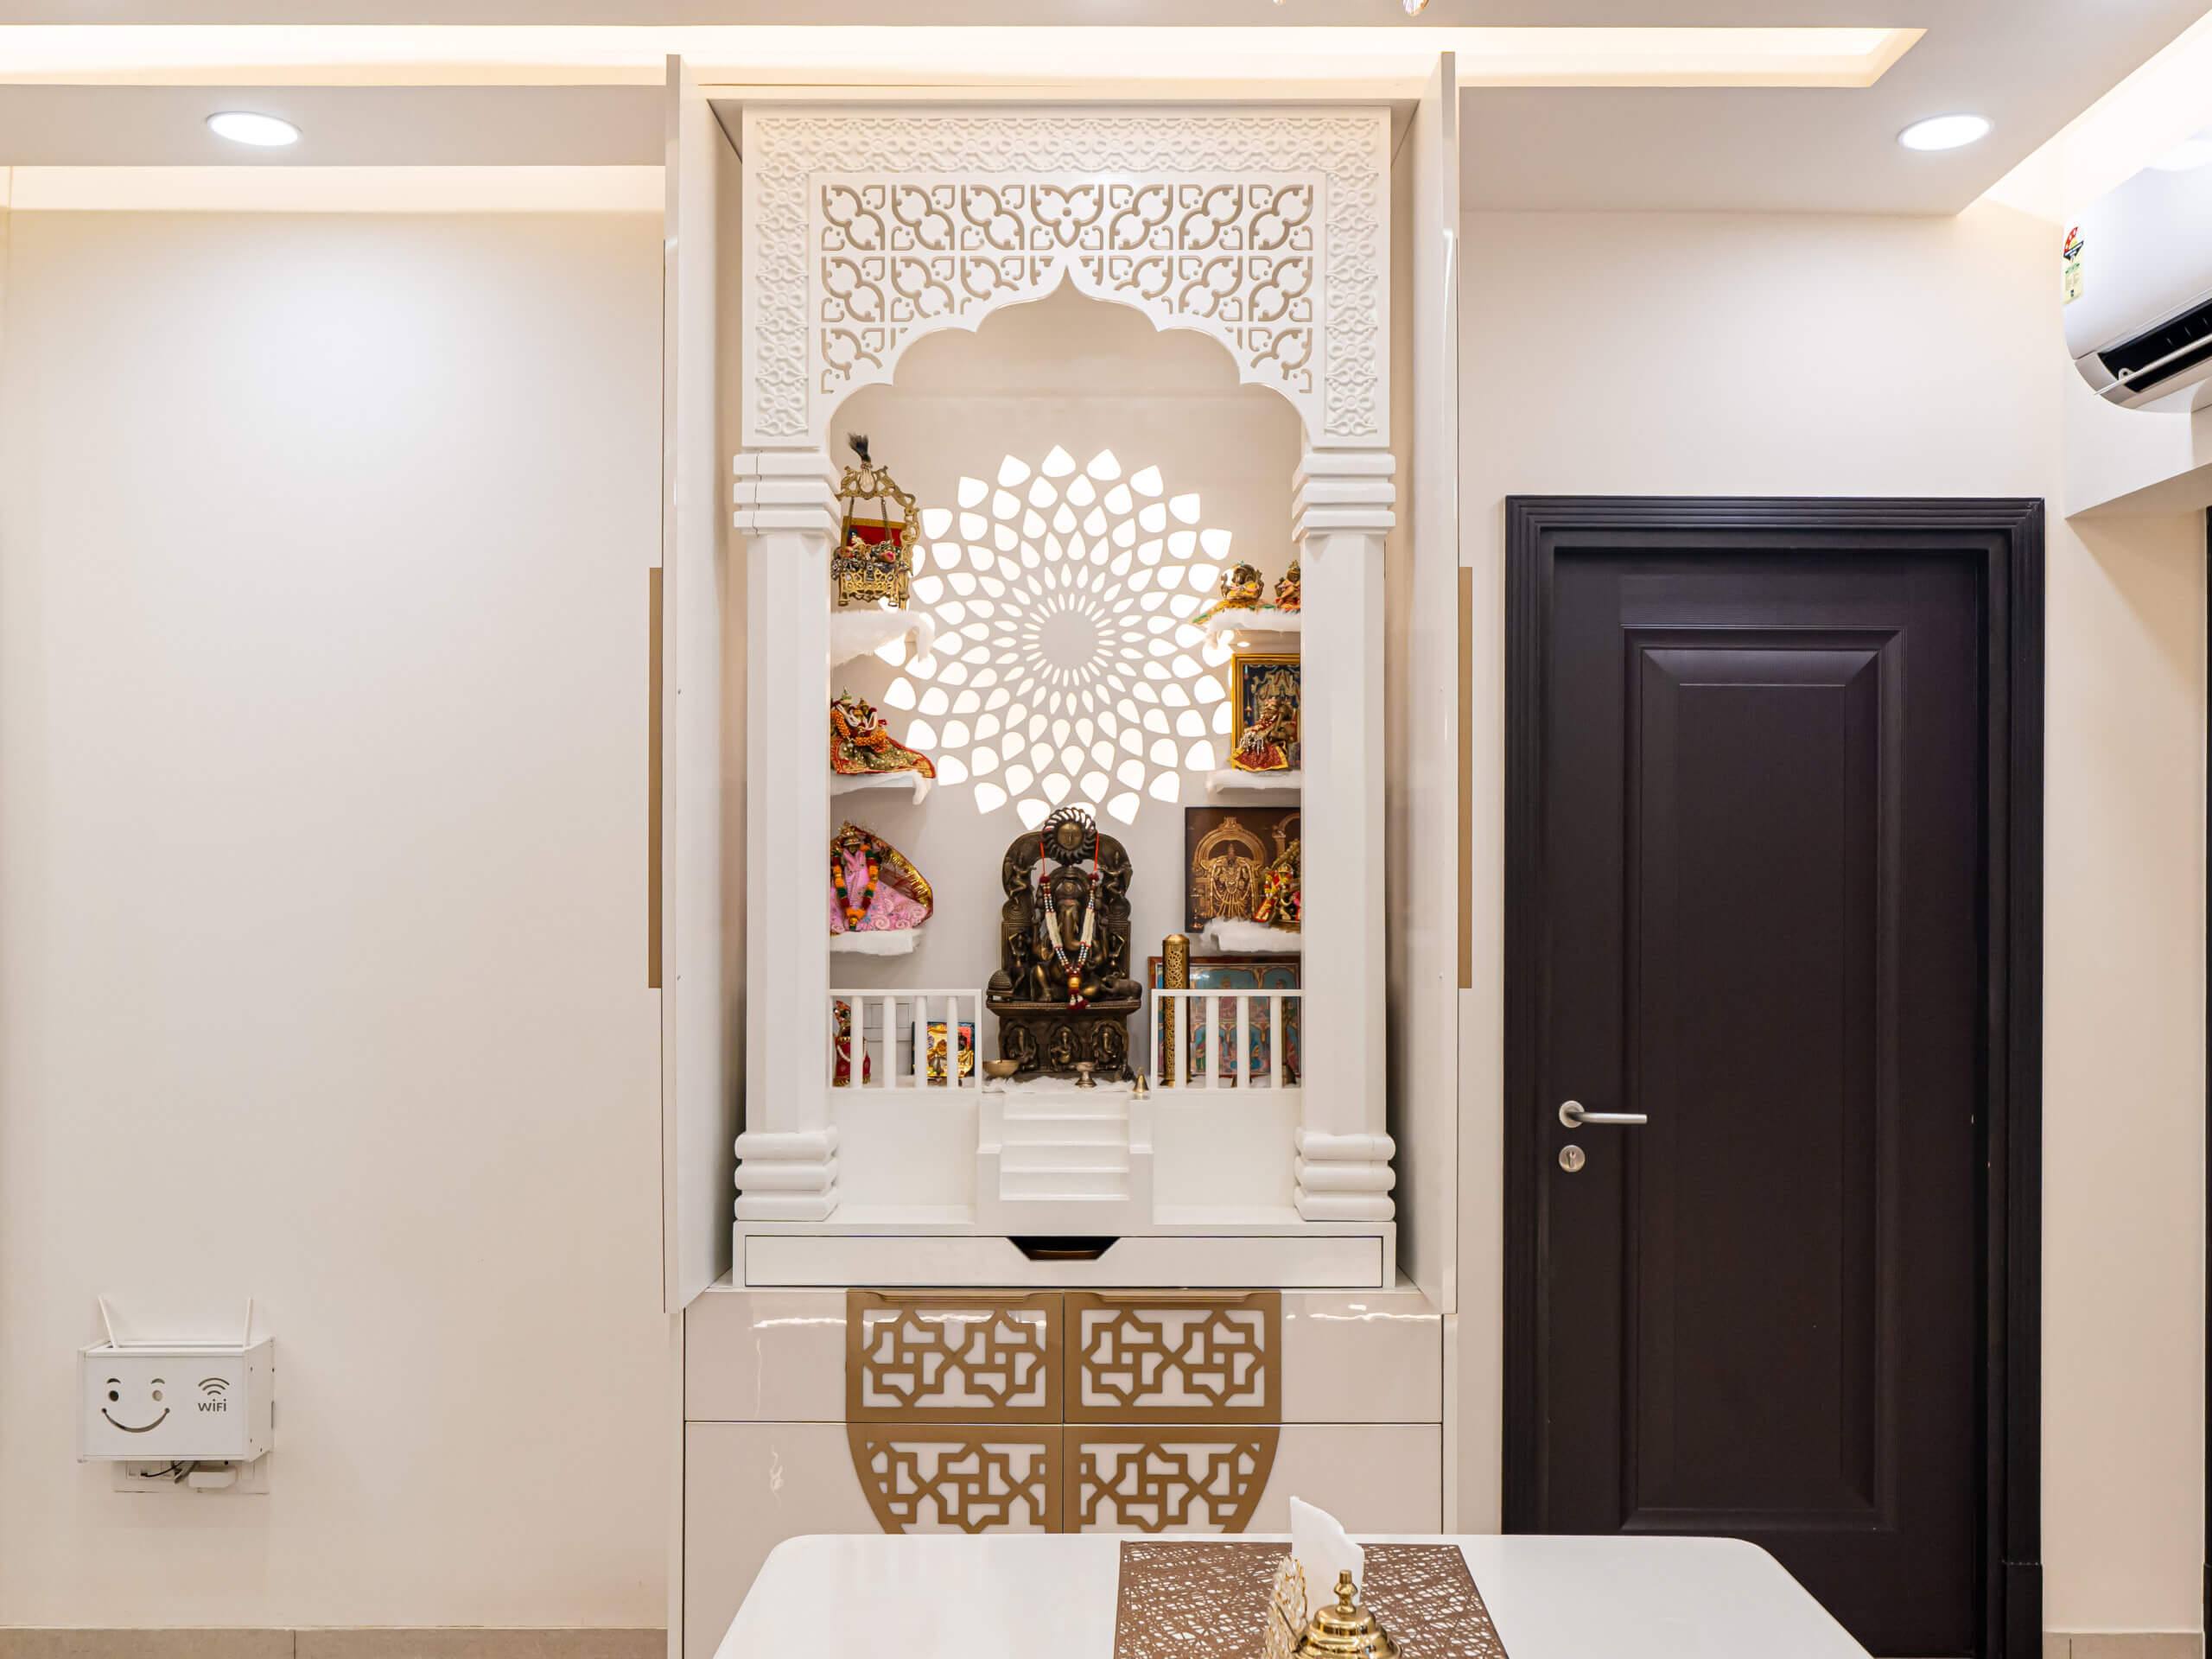
The sparkle. Accent light draws the eye to art, a textured wall, a plant, a niche, a shelf or a feature panel. Spotlights, track lights, picture lights and slim LED profiles all do the job. A rough rule is that the highlighted object should be about three times brighter than the light around it.
Together
Aim for at least two or three layers in every room, each on its own switch and ideally its own dimmer. Ambient makes the room usable, task makes it practical, accent gives it personality. Skip one and the room feels dull, hard to use or flat.
Room by room
Living room
Cove lighting or soft downlights as the ambient layer, on a dimmer. A floor lamp beside the reading chair as task light. Then the accents: spotlights on art, a profile light on the TV wall, or lit niches. Avoid a tight grid of downlights across the whole ceiling; it makes the room feel like a showroom.
Bedroom
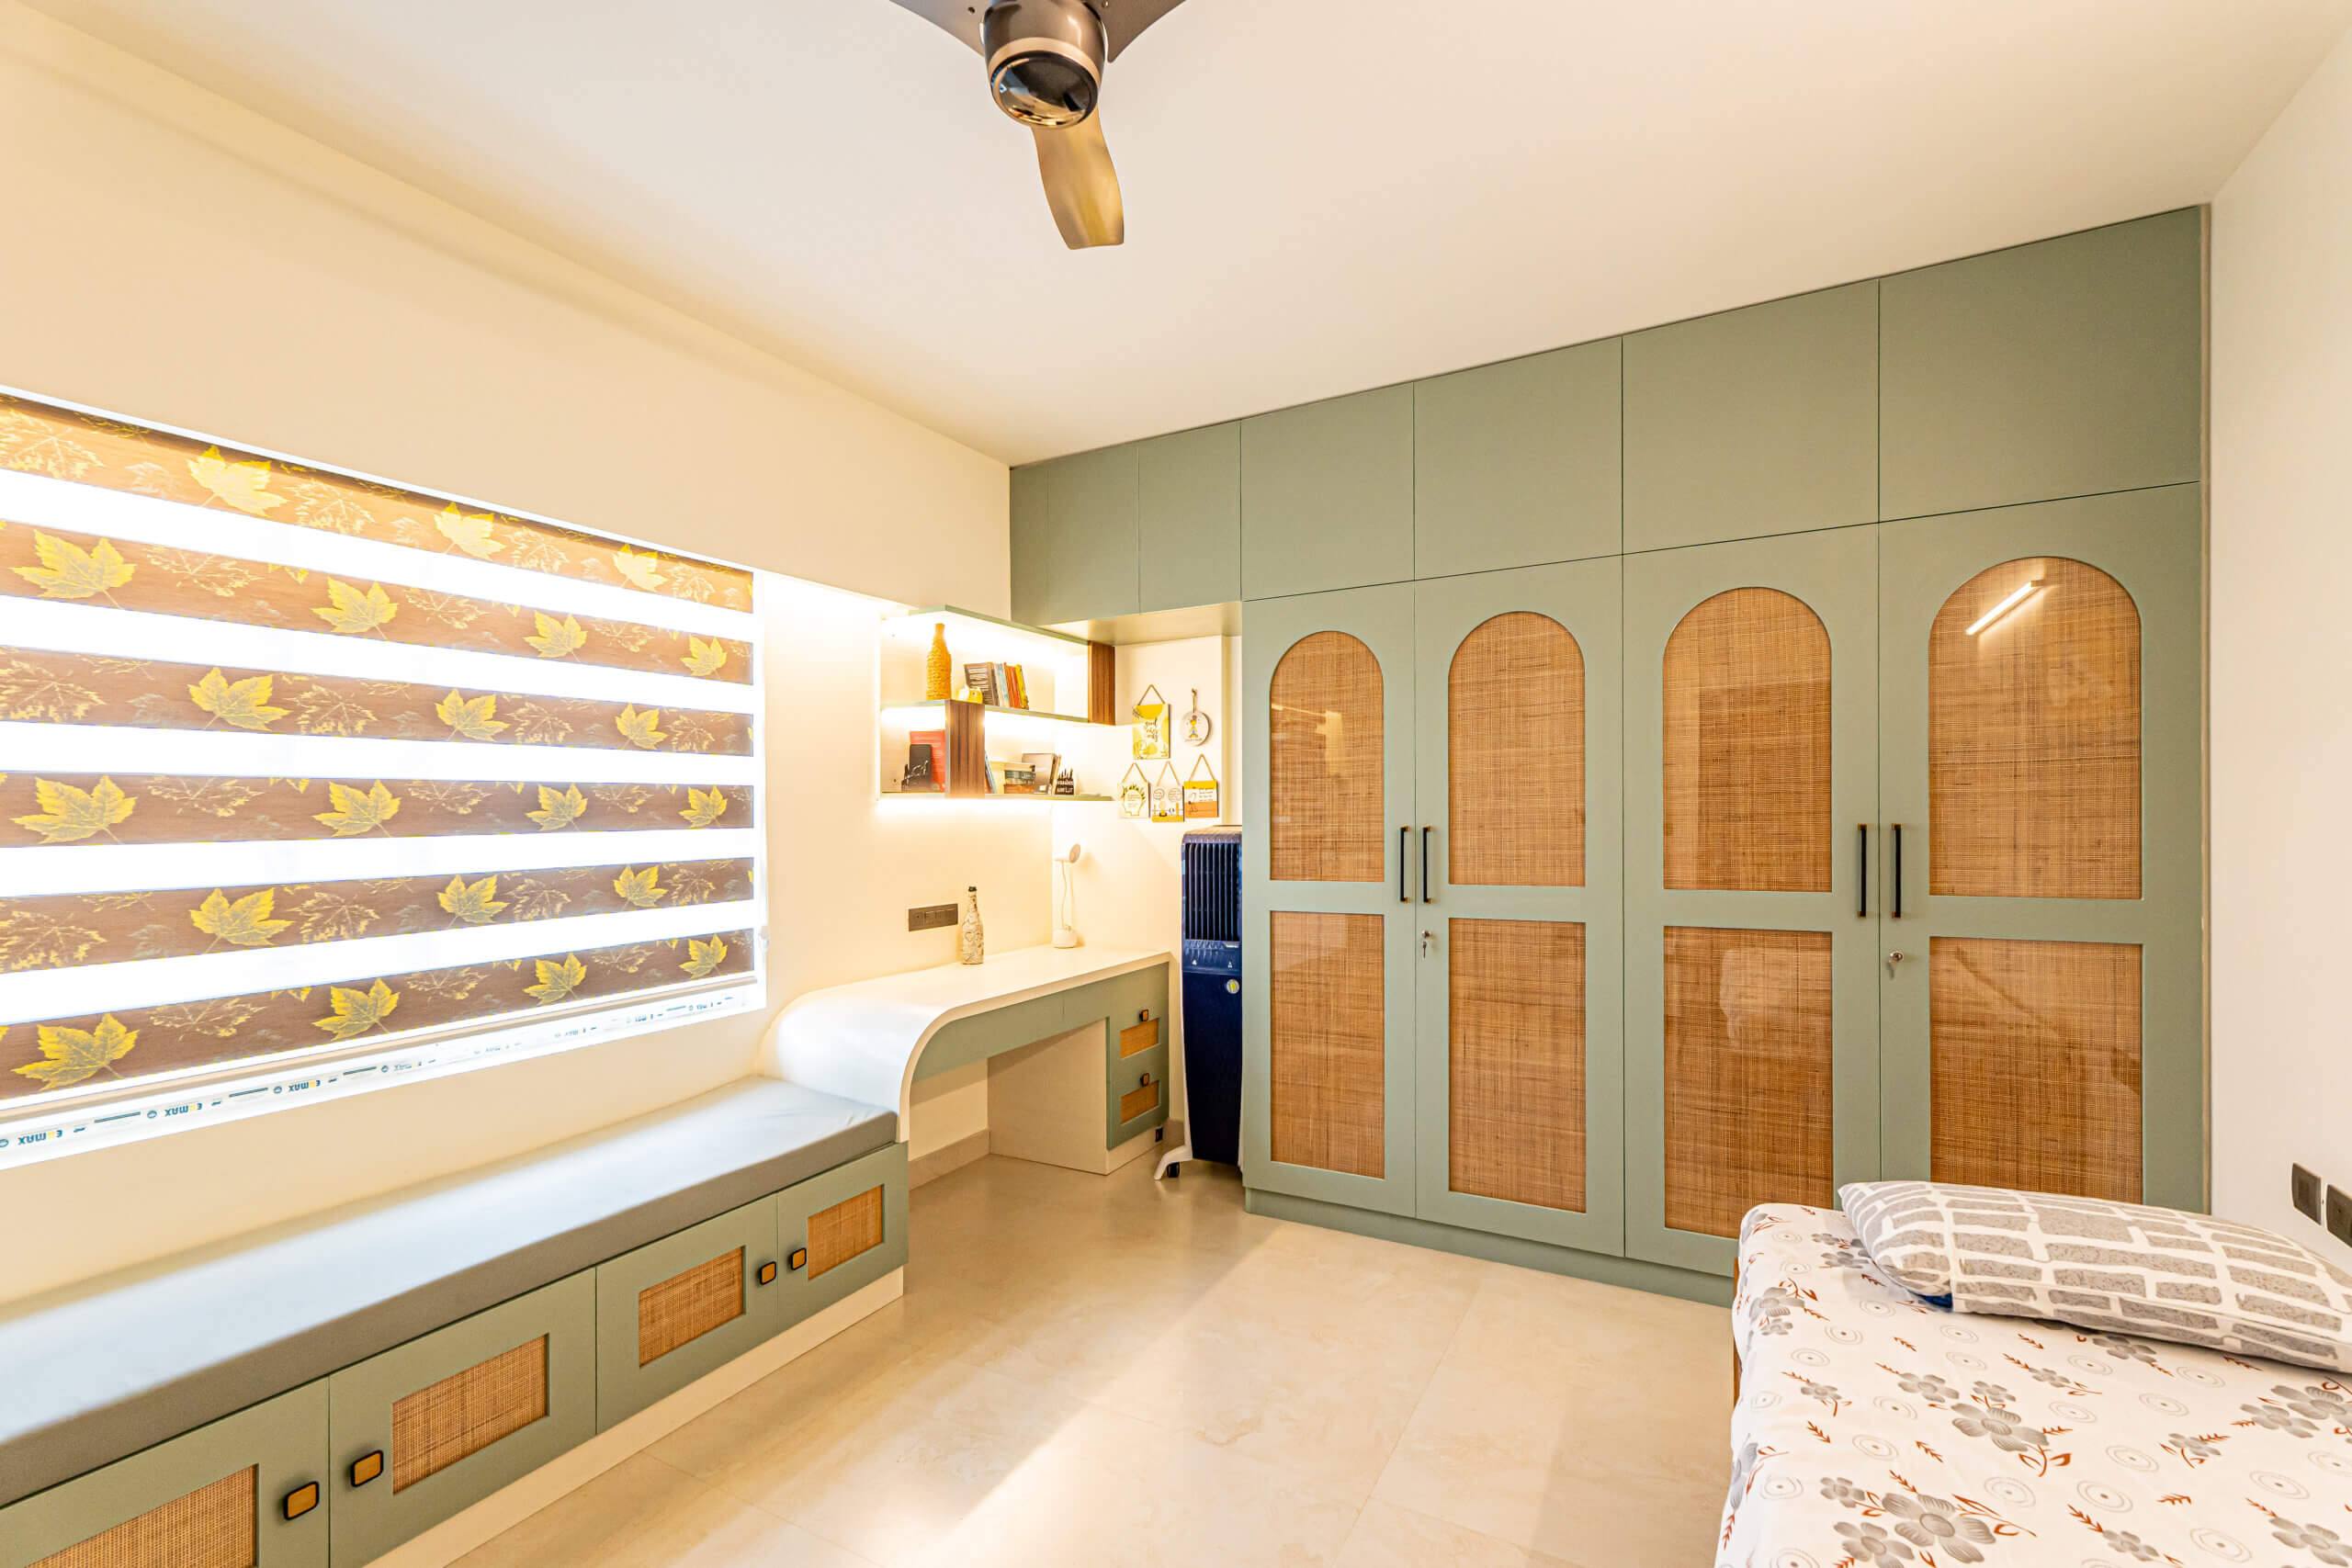
Think of a good hotel room at night. Warm 2700 kelvin ambient light on a dimmer, then wall lights or pendants on each side of the bed with separate switches, so one person can read while the other sleeps. A soft glow under the bed or along the floor helps with night trips. Keep downlights away from directly above the pillow, where they glare in your eyes.
Kitchen
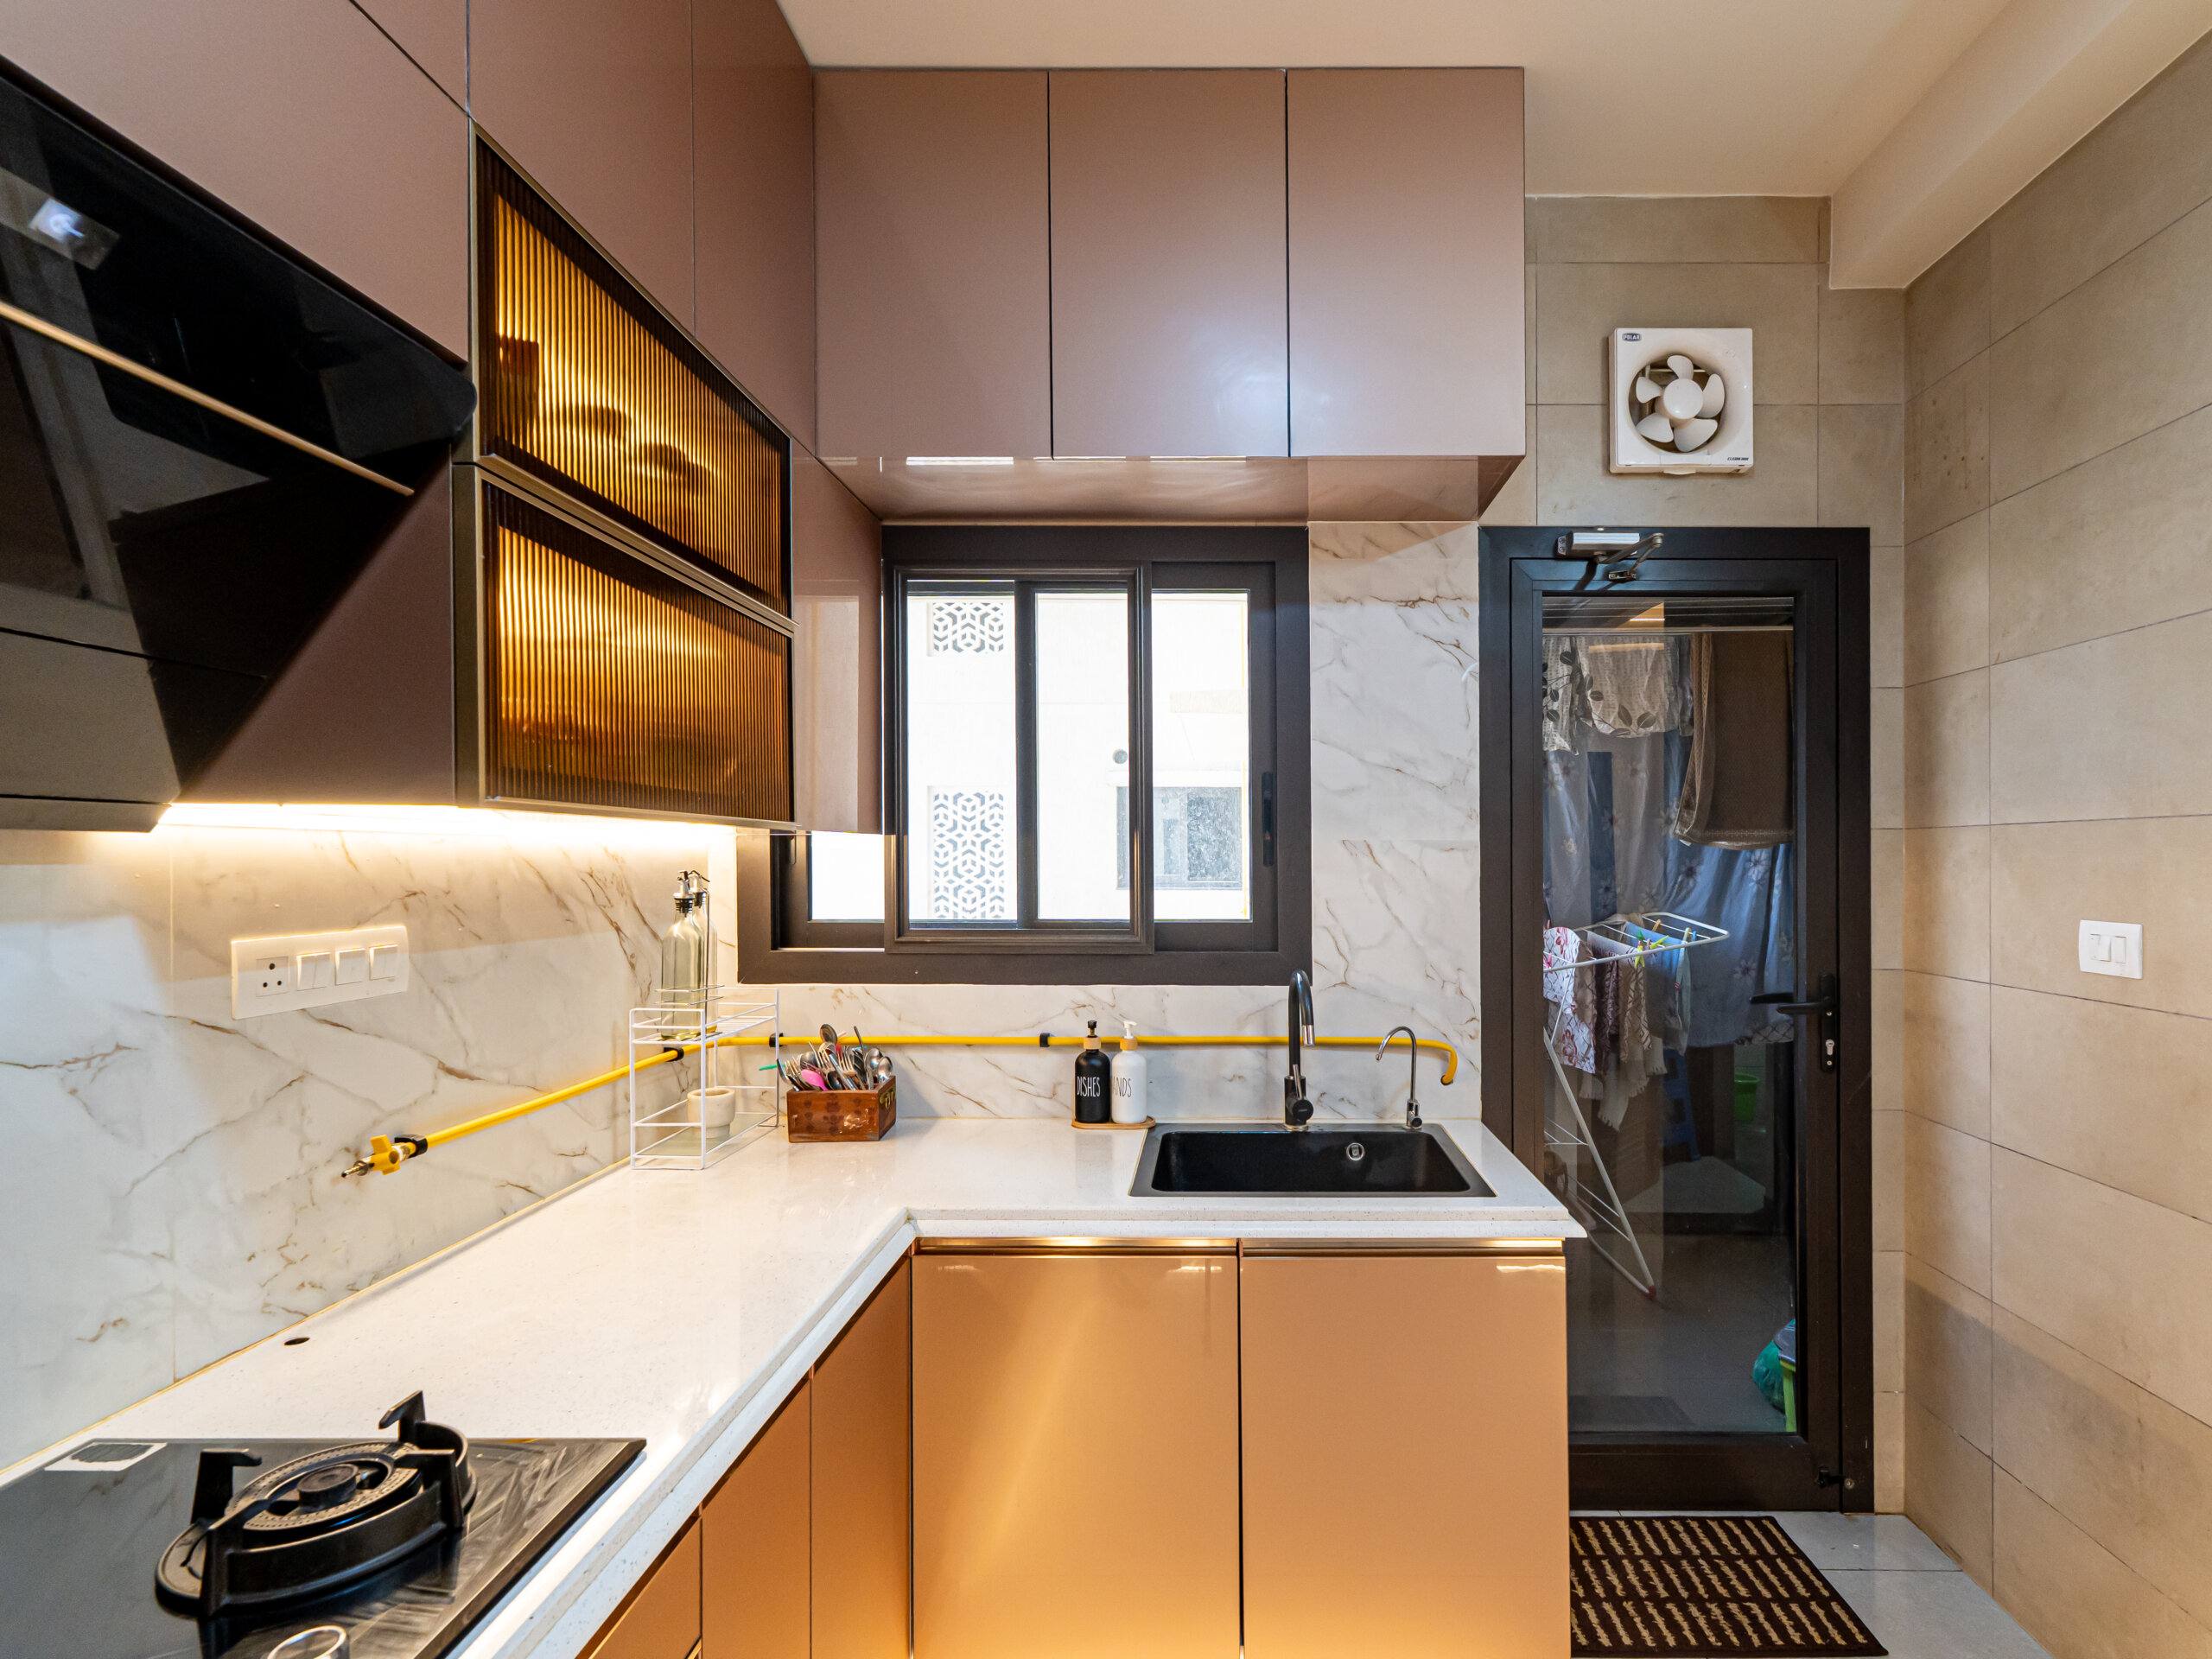
Treat lighting as part of the work surface. Bright, even ceiling light for general visibility, LED strips under the wall cabinets so your shadow does not fall on the chopping board, and a gentle accent inside glass shutters or along the toe kick. Keep every light in the kitchen at the same colour temperature; mixing different whites looks messy.
Dining
A pendant above the table is the star. Hang it roughly 30 to 36 inches above the tabletop, and put it on a dimmer so dinner can be bright for the children and soft for guests.
Wardrobe and dressing area
Door-activated or motion-sensor LED strips inside the wardrobe make it easy to find clothes, and good colour accuracy helps you tell navy from black. Look for lights with a colour rendering index of 90 or above.
Bathroom
Place lights on either side of the mirror rather than only overhead, which throws shadows on the face. Use fittings with a proper IP rating for moisture, and a slightly cooler white of around 3500 to 4000 kelvin for clear grooming light.
Study corner and passages
For a desk, combine soft indirect ambient light with a good task lamp, and keep glare off the screen. In passages and at the entrance, low wall lights or step lights are enough and add a quiet warmth.
What to settle before work starts
Lighting is easy to plan and expensive to fix. Five things to decide early:
- Start from the furniture layout, not the ceiling. Lights follow how you use the room. Decide where the bed, sofa, dining table and work surfaces go first, then place lights to match.
- Plan circuits and switching. Put the layers on separate switches, and group them into simple scenes such as bright, relaxed and night, so you are not hunting for the right combination every evening.
- Add dimmers where they matter. The living room, bedroom and dining area give you the most mood for the least money. Check that the lights and dimmers are compatible; mismatched pairs flicker or hum.
- Choose colour temperature and colour accuracy. Warm 2700 to 3000 kelvin for living areas and bedrooms, 3500 to 4000 kelvin for kitchens and study spaces, and no very cold white at home. Check the colour rendering index too, so the finishes look the way you planned.
- Mind the ceiling depth and wiring. Cove lights and profile lights need space in the false ceiling. Wiring and power points have to be in place before the ceiling is closed.
Where to spend and where to save
Spend on good drivers, dimmers and colour accuracy, because poor quality shows up as flicker, heat and early failure. Cheap LED strips in particular tend to fail in the humid months. Save on decorative pendants and extras, which can be added later.
Bangalore specifics: weather, apartments and ceiling height
Many homes around Sarjapur Road, Dommasandra and Varthur are newer apartments and gated communities, along with independent houses. That helps, because concealed wiring and clean ceilings are easier to plan, but ceiling heights can be modest.
Monsoon humidity. The monsoon keeps the air damp for months. Use fittings with proper IP ratings in bathrooms and balconies, keep ventilation above false ceilings, and avoid low-quality drivers that overheat. The mild weather and good daylight mean you often need less light in the morning, so the evening layers are the ones to get right.
Apartment rules. Most communities have rules on working hours, wiring and electrical load. We keep wiring concealed, do not touch common lines, and check your sanctioned load before adding lights, appliances or air conditioners. If you rent or cannot change the ceiling, floor lamps, table lamps and stick-on LED strips still give you layers.
Lower ceilings. A slim cove, wall lights and compact fixtures work better than a bulky chandelier. Light colours and a well-placed mirror also make a compact room feel brighter.
How we plan lighting with the rest of the home
Lighting is where decor and design meet, so we plan it together with the layout, furniture and finishes rather than after them.
- Discovery call and site visit. We learn how you use each room, when you are home and what you want each room to feel like.
- Lighting and furniture plan. The layers, fixtures, switches and dimmers for each room, marked on the plan.
- 3D design and fixture selection. You see the effect in 3D before anything is installed, and pick fixtures from real samples.
- Itemised quote. Fixtures, brands, wiring, controls and timeline, all in writing.
- Wiring and ceiling work. Conduits, points and the false ceiling go in before finishes.
- Installation and testing. Every light and dimmer is tested, and brightness and direction are adjusted with you.
- Handover. We walk you through the scenes and switches and share the warranty details.
This runs inside the overall schedule, which for a full 2 or 3 BHK usually runs roughly 45 to 90 days, depending on scope, material lead times and society approvals.
Questions to ask a designer
Keep these handy for a first meeting with any designer, including us.
- Do you plan lighting layers, or just place downlights?
- Can I see a finished home, and how it looks at night?
- Which brands of fixtures, drivers and dimmers do you use?
- How do you handle colour temperature and colour accuracy?
- Will the quote list every fixture, switch and dimmer?
- Who supervises the wiring and ceiling work?
- What warranty comes with the fixtures and the installation?
- Can I change the lighting later without opening the ceiling?
Clear, detailed answers are a good sign. Vague ones tell you something too.
Common questions
How many lights does a room need?
Think in layers, not numbers. A rough guide is 10 to 20 lumens per square foot for living rooms and bedrooms, and more for kitchens and work areas.
Can I get layered lighting without a false ceiling?
Yes. Wall lights, floor lamps, table lamps, surface-mounted track lights and stick-on LED strips create layers without touching the ceiling.
Do I need a designer, or just an electrician?
An electrician installs. A designer plans the layers, positions, switching and finishes so the result looks good and works every day. Ideally the two work together.
Lighting is the quiet detail that makes a home feel finished. With ambient, task and accent layers, warm colours, dimmers and a little planning, even a simple room can feel special. If you would like a straight conversation about your space and budget, get in touch and we will arrange a site visit. We work mainly around Sarjapur Road, Dommasandra and Varthur, and across Bangalore.
Tell us about your home.
A site visit, a 3D design and an itemised estimate, free. Most homes are handed over in 45 to 60 working days.